Ear care is one of the most overlooked parts of pet health. Whether you have a dog that loves outdoor play or a cat that enjoys quiet time indoors, clean ears are essential for comfort, hearing, and long-term wellness. Many pet parents ask the same questions: Should I clean my pet’s ears? How often? And what is the safest method?
Understanding the basics of ear hygiene helps you prevent infections, reduce irritation, and support overall pet comfort.
Pets rely heavily on their ears—not just for hearing but also for balance and environmental awareness. However, the ear canal is warm and curved, making it easy for:
· Wax to accumulate
· Moisture to get trapped
· Dust and pollen to settle
· Bacteria and yeast to multiply
While some pets rarely need ear cleaning, others—especially those with floppy ears, allergies, or active lifestyles—benefit from routine maintenance.
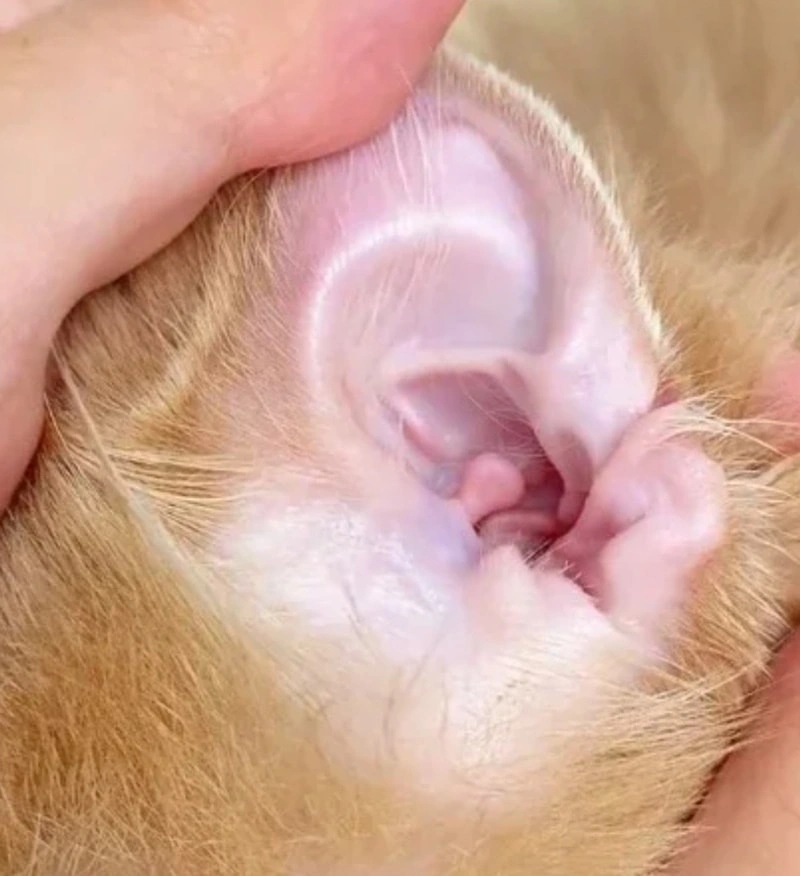
Signs that your pet may need an ear check include:
· Visible wax buildup
· Mild odor
· Head shaking or frequent ear scratching
· Rubbing their ear against furniture or the floor
· Redness around the ear opening
Important: If you see pus-like discharge, strong odor, swelling, or if your pet cries when touched, do not clean at home. These are signs of infection or ear mites and require a vet visit.
Most experts agree on one safe, effective method: using a veterinary-approved liquid ear cleaner with gentle drying action.
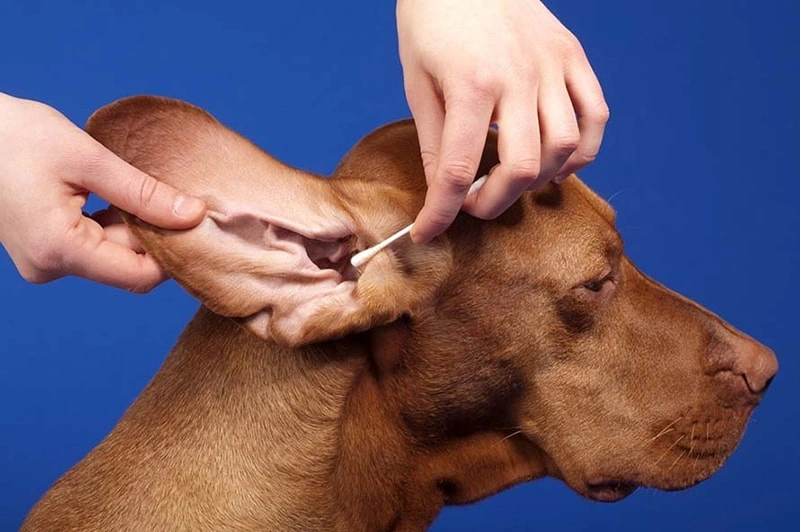
Cotton swabs, alcohol, and vinegar should never be used inside the ear canal.
Here’s the safest step-by-step approach:
1. Choose a Vet-Approved Ear Cleaner
Look for a formula that is:
· pH-balanced
· Alcohol-free
· Safe for regular use
· Designed to remove wax and debris without over-drying
These cleaners help break down wax while minimizing irritation.
2. Start With a Calm Setting
Pick a quiet place where your pet feels relaxed. Gently pet or reassure them before starting.
3. Apply the Ear Cleaner
Lift the ear flap and squeeze the recommended amount of solution directly into the ear canal.
Avoid touching the tip to the ear to keep the bottle sanitary.
4. Massage the Base of the Ear
Use your fingers to massage the ear base for 20–30 seconds.
You’ll often hear a light “squish”—this helps loosen debris.
5. Let Your Pet Shake
Most pets instinctively shake their head afterward. This helps bring loosened debris to the surface.
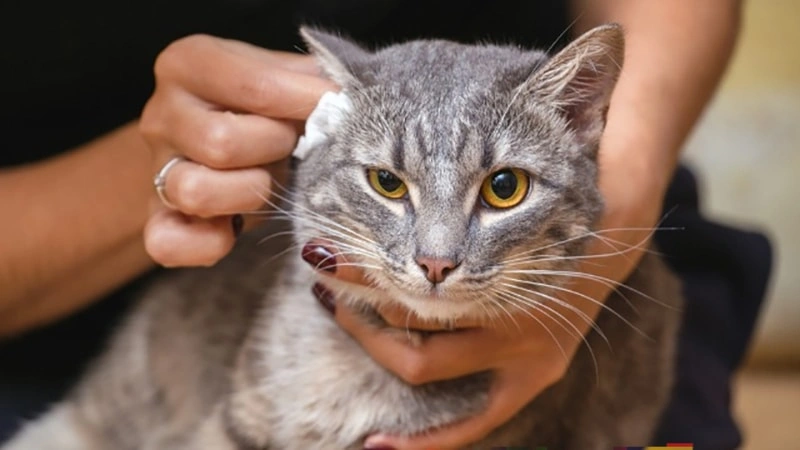
6. Wipe Away Visible Debris
Use a soft cotton pad or gauze to gently clean the outer ear.
Do not insert anything deep into the ear canal.
Generally Safe When:
· Your pet’s ears are only mildly dirty
· There is no strong odor or discharge
· Your pet tolerates the process without pain
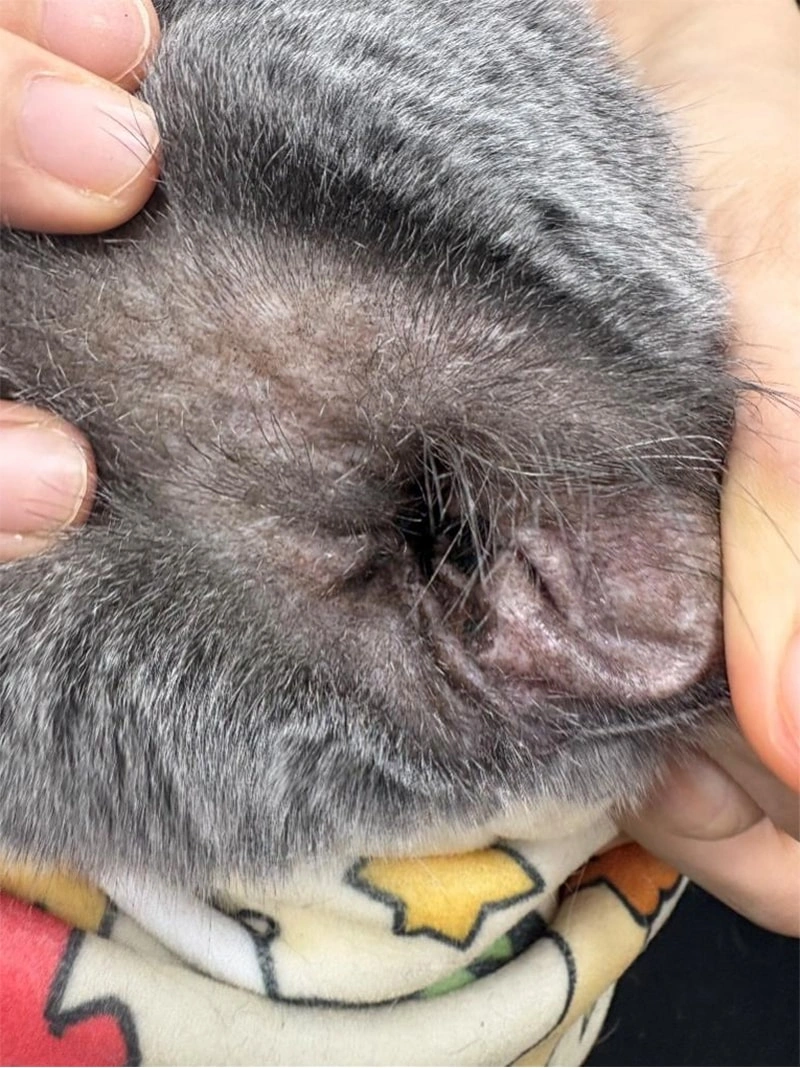
Avoid At-Home Cleaning If Your Pet Has:
· Thick, dark discharge
· Blood, pus, or crusting
· Severe redness or swelling
· Persistent head tilt or imbalance
· Pain when touching the ears
These symptoms indicate infection, mites, or inflammation—only a veterinarian should treat these.
It depends on your pet’s breed, skin health, and lifestyle:
· Floppy-eared dogs (e.g., Cocker Spaniels): every 1–2 weeks
· Outdoor or swimming dogs: weekly
· Short-haired indoor cats/dogs: once every 3–4 weeks
· Pets with allergies: follow veterinary guidance (often more frequent)
Over-cleaning can cause irritation, so finding the right frequency is key.
· Keep ears dry after bathing or swimming
· Trim excess hair around the ear opening (if recommended by a groomer or vet)
· Use parasite preventives to reduce the risk of mites
· Avoid home remedies like vinegar or hydrogen peroxide

Ear cleaning doesn’t have to be stressful or complicated. With the right tools and gentle technique, you can maintain your pet’s ear health safely from home. Regular checks help prevent infections, reduce discomfort, and support overall well-being.
When in doubt—especially if you notice pain, odor, or discharge—always consult your veterinarian before attempting ear care.

Are natural eye-care products effective for pets? Learn which ingredients are safe around dogs’ and cats’ eyes, what to avoid, and how to build a gentle daily routine.
Ear problems are easy to overlook until your pet starts shaking their head, scratching constantly, or developing dark debris inside the ear. Many pet parents ask the same questions: Is it just wax? Could it be ear mites? Can ear mites come back after treatment? And how often should ears be cleaned?

Many pet parents want an easier way to support their cat’s oral health at home. Dental powders are popular because they can be added directly to food, but some formulas use seaweed or kelp-based ingredients. For cats with sensitive digestion, special diets, or thyroid concerns, some families may prefer a seaweed-free cat dental care routine.

A shiny, smooth coat is more than a beauty goal. For dogs and cats, coat condition often reflects overall skin health, nutrition, grooming habits, and daily comfort. A healthy coat should look glossy and feel soft, while dull, brittle, greasy, or flaky fur may suggest dryness, poor grooming, nutritional imbalance, allergies, parasites, or an underlying health issue. VCA notes that skin and coat appearance are useful indicators of general health in both dogs and cats.

Learn how to clean dogs teeth at home, what to use, how often to do it, and simple ways to support better pet dental cleaning as part of a gentle daily routine.

Vaccines and preventive care depend on species (dog/cat), age, lifestyle, and local laws—but there are reliable “core” basics almost every pet needs. Below is a practical schedule you can use to plan vet visits and ask the right questions.
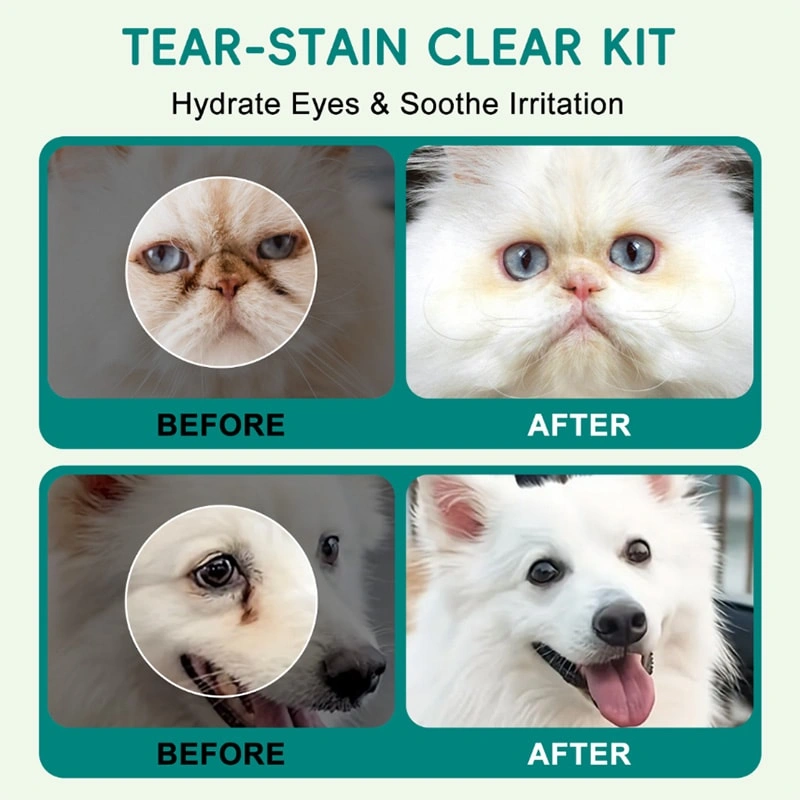
Tear stains are not a diagnosis—they’re a sign that tears (and the pigments inside them) are spending too much time on your dog’s face. Allergies can be one reason tear stains show up or get worse, but they’re only one piece of the puzzle. Many dogs have tear stains primarily because of anatomy, drainage, or mild eye irritation, even with “normal” tear production.
If you notice dark debris in your pet’s ears, it can be wax, ear mites, or an infection—and they can look similar at home. The safest approach is to compare symptoms + debris texture + recurrence, and seek veterinary confirmation when signs are strong.

Daily cleaning can be safe for sensitive dogs—but only when it’s gentle, minimal, and consistent. For many “sensitive skin dogs and cats,” the goal isn’t to scrub the skin spotless; it’s to remove irritants and moisture without stripping the barrier.
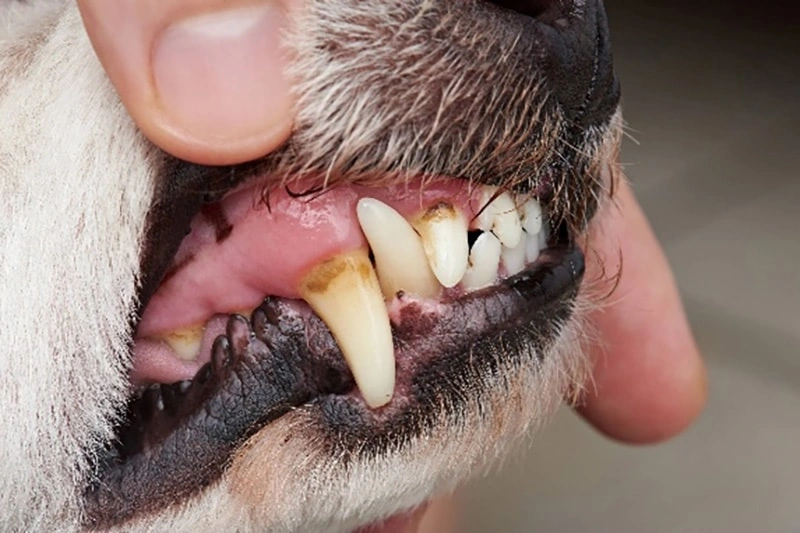
Daily dental care is one of those “small habits” that quietly protects a pet’s comfort for years. Plaque doesn’t wait—once it forms and hardens into tartar, home care becomes less effective, and gum inflammation can progress below the gumline. For many families already committed to gentle daily skin care for pets, dental care fits the same mindset: calm, consistent, low-stress routines that support comfort over time. The same “steady routine” philosophy also pairs naturally with immune balanced pet care—because chronic mouth inflammation can affect more than just breath.
Copyright © 2026 by Phytopaw Pet Health Limited All Rights Reserved


